What is SUNO AI? Before we get into the Suno...
Read More

What is SUNO AI? Before we get into the Suno...
Read More
My Unfiltered, Hilarious Interview with ChatGPT Artificial intelligence is smart,...
Read More
If you’re building a new website or looking to switch...
Read MoreIn the world of digital-first businesses, your website is often the first impression people get of your brand. Whether you’re a startup, a local business, or a solo creator looking to scale up, having a professional, functional website is no longer optional—it’s essential. And when it comes to building websites, WordPress stands out as the most trusted, flexible, and widely-used platform across the globe.
In fact, WordPress powers over 40% of all websites on the internet. That’s not a coincidence—it’s a reflection of how easy it is to use, how customizable it can be, and how future-proof it is as your business grows. With thousands of free themes, plugins, and integrations, WordPress gives you the freedom to design a website that fits your exact needs—whether it’s a portfolio, an e-commerce store, a blog, or a fully custom solution.
That said, we get it—not everyone has the time or tech skills to learn hosting setup, DNS configuration, plugin installs, and design tweaks.
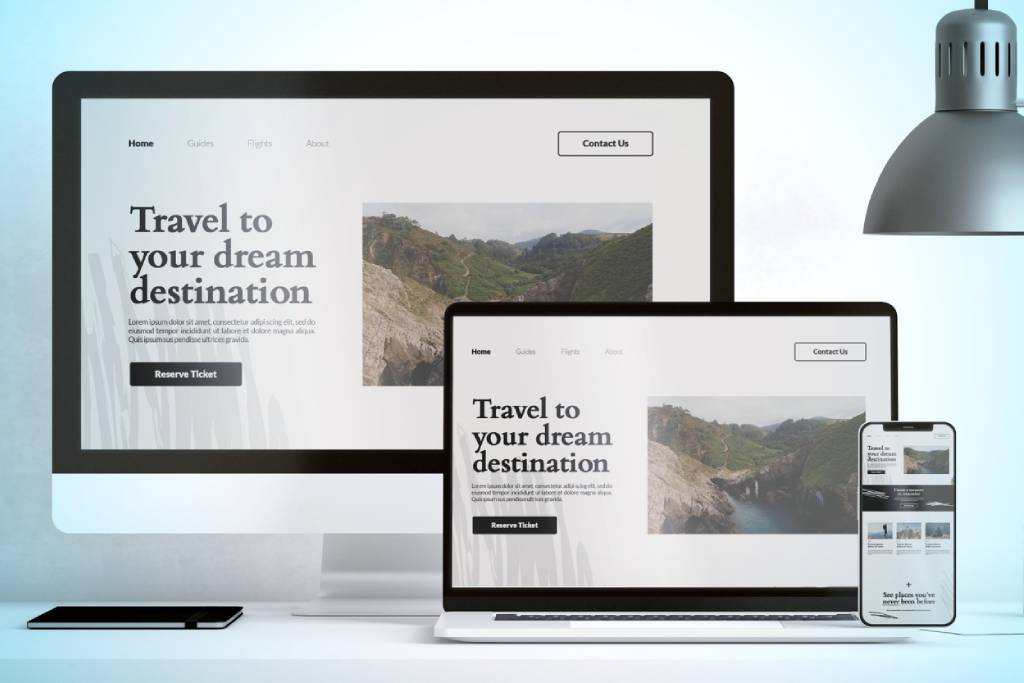
IMAGE CREDITS: FREEPIK
Overwhelmed by the tech side of building a wordpress website? Let us handle it for you.
At Webto, we specialize in building WordPress websites from the ground up—so you don’t have to stress about any of the complicated stuff. From helping you register your domain name and picking the right hosting, to installing WordPress, choosing essential plugins, and even setting up a backend dashboard tailored to your business—we take care of it all.
Our service includes:
You focus on what you do best—running your business—and we’ll make sure your online presence reflects that professionalism.

IMAGE CREDITS: FREEPIK
Your domain name is the front door to your brand online. It’s what users will type in to find you, and it forms the foundation of your website’s identity. Whether you’re building a portfolio, a business site, or an online store, the right domain name can influence how memorable, trustworthy, and professional your brand appears.
We personally use and recommend Namecheap because:

IMAGE CREDITS: FREEPIK
After locking in your domain name, the next critical piece of your wordpress website setup is hosting. Think of hosting as the space where your website lives. It stores all your files, media, and data, and delivers your content to visitors when they type in your domain name.
But not all hosting is created equal—and choosing the wrong type can result in slow performance, security risks, and downtime that drives visitors away.
Shared Hosting
Perfect for beginners and smaller websites, shared hosting means your site is placed on a server with other websites. It’s budget-friendly and requires minimal technical knowledge. However, your site shares server resources—so if one site gets a traffic spike, others may slow down.
Managed WordPress Hosting
This is tailored specifically for WordPress sites. It includes automatic updates, backups, better performance, and WordPress-optimized servers. While it costs more than shared hosting, it’s ideal for serious creators, bloggers, or business owners who want hassle-free speed and security.
Recommendation: Start with shared hosting if you’re on a tight budget, but opt for managed WordPress hosting if you want better performance and fewer technical worries.
Not sure which host to choose? We’ve narrowed it down to two solid, beginner-friendly options that we’ve personally vetted—and both work great with WordPress. Here’s a quick breakdown to help you decide:
InMotion Hosting strikes a perfect balance between performance, features, and excellent support.
Check InMotion Hosting Plans »
HostGator is a go-to favorite for millions of website owners—and for good reason.
Explore HostGator Hosting Deals »
Our Take:
If you’re looking for premium speed and robust support, go with InMotion Hosting. If budget is a top concern and you’re just getting started, HostGator is a dependable choice.
Now that you’ve got both your domain and hosting sorted, it’s time to make them talk to each other—literally. This step is all about updating your domain’s nameservers, which tells the internet where your website lives.
If you purchased your domain from Namecheap and hosting from InMotion or HostGator, here’s how to link them up:
ns1.inmotionhosting.comns2.inmotionhosting.comnsXXXX.hostgator.com – you’ll find this info in your welcome email or dashboard.Pro Tip:
You only need to update your nameservers once per domain. After that, any hosting you assign to that domain will automatically take effect.
With your domain and hosting connected, it’s time to bring your website to life with WordPress—the platform that powers 40% of all websites online.
Depending on your tech comfort level, you’ve got two routes:
Most good hosts like InMotion and HostGator come with a tool called Softaculous or a custom one-click installer. Here’s how to use it:
In a few seconds, you’ll get a link to your WordPress dashboard (yourdomain.com/wp-admin)—bookmark that for easy access.
Pro Tip:
Use a strong admin username (not “admin”) and a unique password to improve your site’s security right from the start.
For those who want full control or are using a host without a one-click installer:
wp-config-sample.php file to wp-config.php and fill in your database info.Whether you go the easy route or take the manual road, once WordPress is installed—you’re officially a website owner.
Next up: Let’s lock it down and customize it. Ready for Step 5?
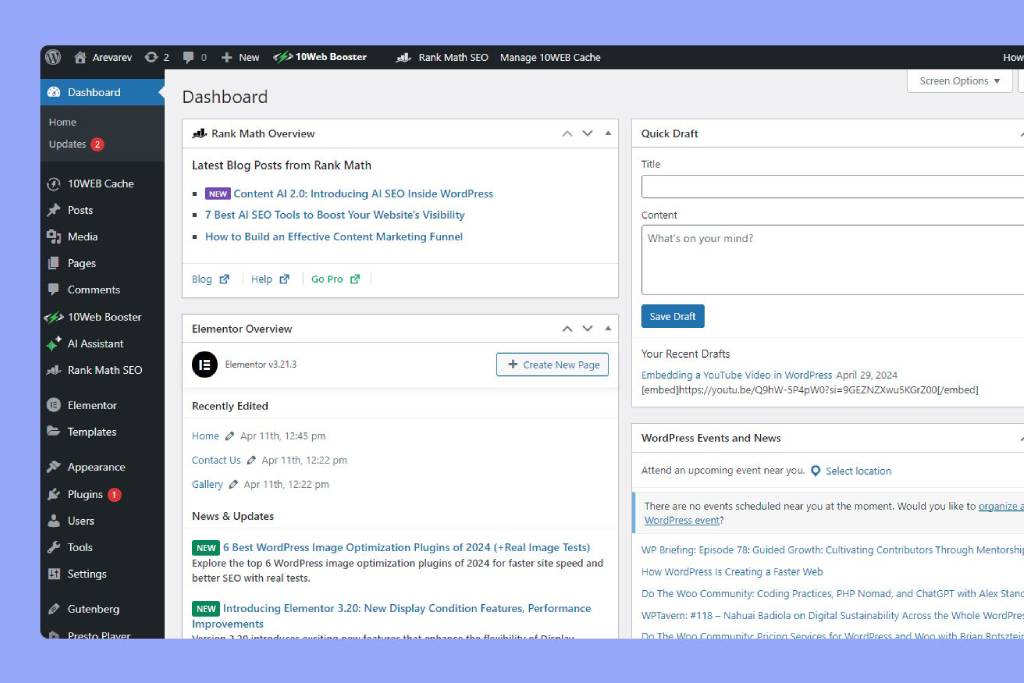
Once WordPress is installed, your digital control room—aka the WordPress Dashboard—is ready to roll. This is where all the magic happens: editing content, customizing the look, adding plugins, and tweaking settings.
Head to:yourdomain.com/wp-admin
Enter the username and password you created during installation.
Hit Log In and boom—you’re inside.
Tip: Bookmark this login page so you don’t have to type it every time.
Here’s a beginner-friendly walk-through of the major sections:
Pro Tip:
Spend 15–20 minutes clicking around. You won’t break anything, and it’s the best way to get familiar with your site’s back-end.
Next up: making your website look like a pro designed it—let’s pick a theme!
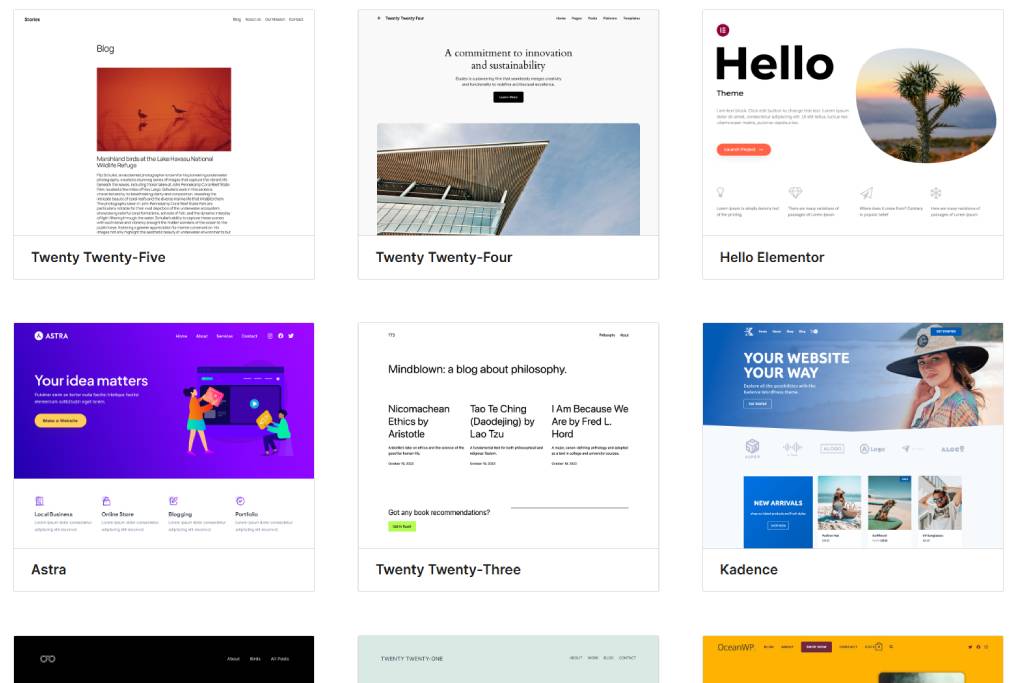
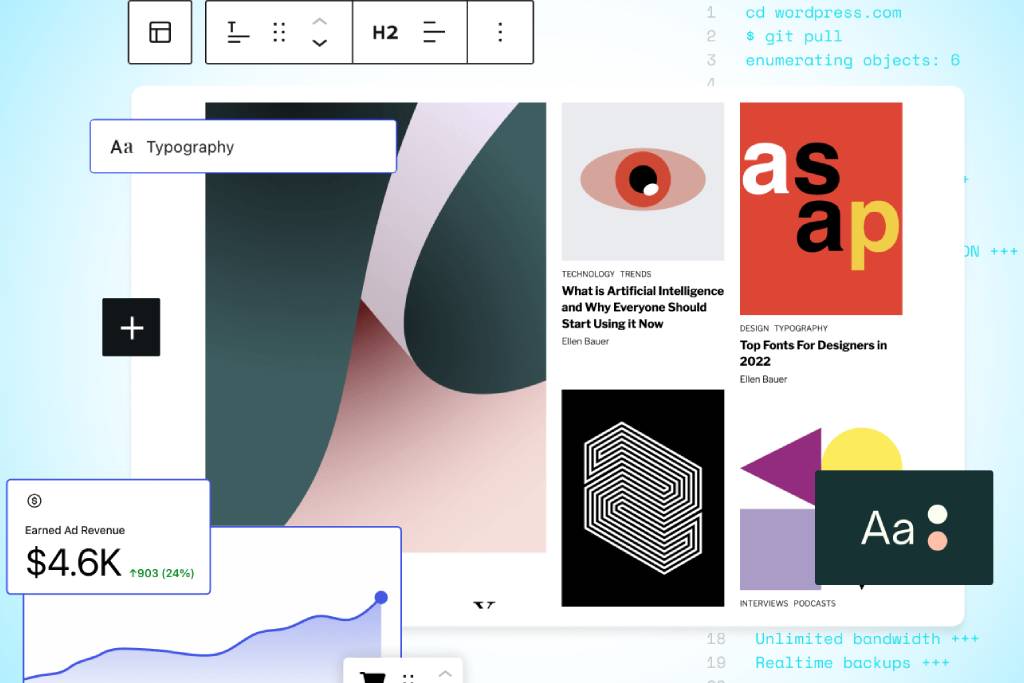
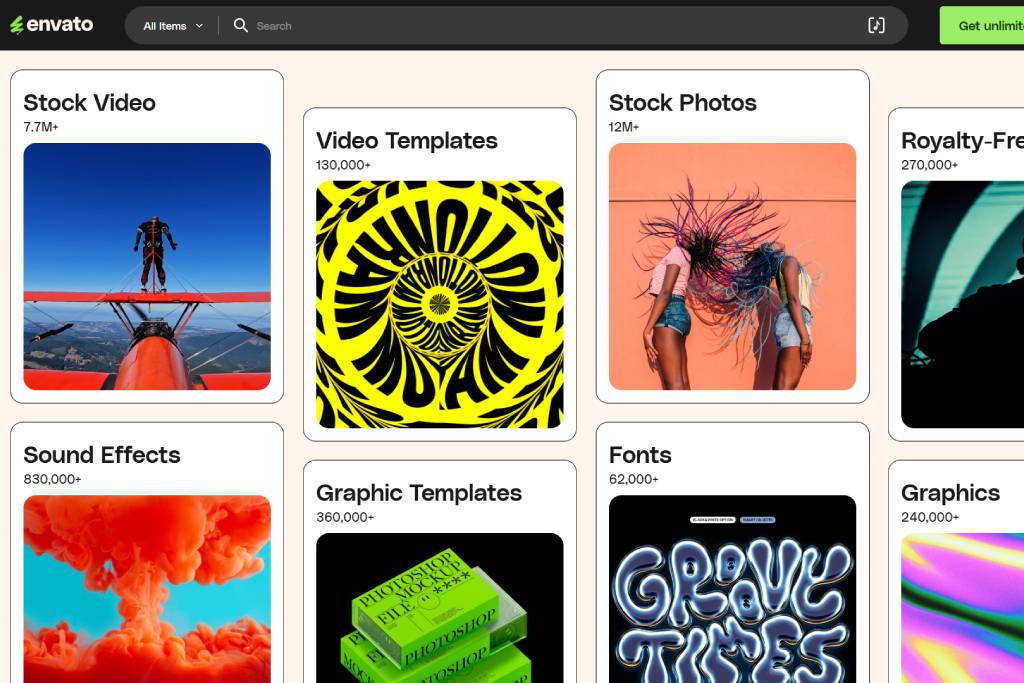
Your theme defines the look and feel of your website—everything from layout and fonts to color schemes and header styles. It’s the visual identity of your brand online.
When picking a theme, keep the following in mind:
👉 Browse Premium Themes on Envato Market
Boom! Your website just got a style upgrade.
Up Next: Essential plugins that give your site superpowers—security, performance, contact forms, and more.
Once your theme is active, it’s time to make your website uniquely yours. This is where you shape your brand’s first impression and bring your vision to life.
Pro Tip:
Your homepage is prime digital real estate. Use it to clearly explain who you are, what you offer, and how people can connect with or buy from you.
Plugins extend the functionality of your WordPress website—whether it’s boosting security, improving performance, or helping with SEO. Here are the essential plugins you should install right after setting up your website:
A robust firewall and malware scanner that protects your site from hacks and malicious traffic. It also includes login security features and real-time threat detection.
Prevents clickjacking attacks by ensuring your wordpress website cannot be embedded in a hidden frame—an important layer of security.
Disables the legacy XML-RPC feature in WordPress that is often targeted in brute-force attacks. Most modern sites don’t need this enabled.
Adds a simple but effective way to limit failed login attempts, protecting your site from brute-force attacks.
Automatically detects and configures your SSL certificate. Especially useful if your hosting doesn’t auto-enable HTTPS by default.
An all-in-one SEO plugin offering real-time page optimization, schema markup, and integration with Google Search Console and Analytics.
Both improve page load times by caching your content. WP Super Cache is suitable for most servers, while LiteSpeed Cache is optimized for LiteSpeed servers.
Compresses and optimizes images without sacrificing quality. Faster images improve your loading speed and SEO rankings.
A drag-and-drop form builder that’s beginner-friendly yet powerful. Ideal for creating contact forms, feedback forms, and more.
A visual page builder that lets you create custom layouts and designs without touching code. Perfect for crafting professional-looking pages quickly.
Reliable backup plugin that lets you schedule automatic backups and store them offsite on Google Drive, Dropbox, or other cloud services.
These plugins form the foundation of a well-functioning, secure, and optimized WordPress website. Avoid installing unnecessary plugins to keep your site lean and fast.
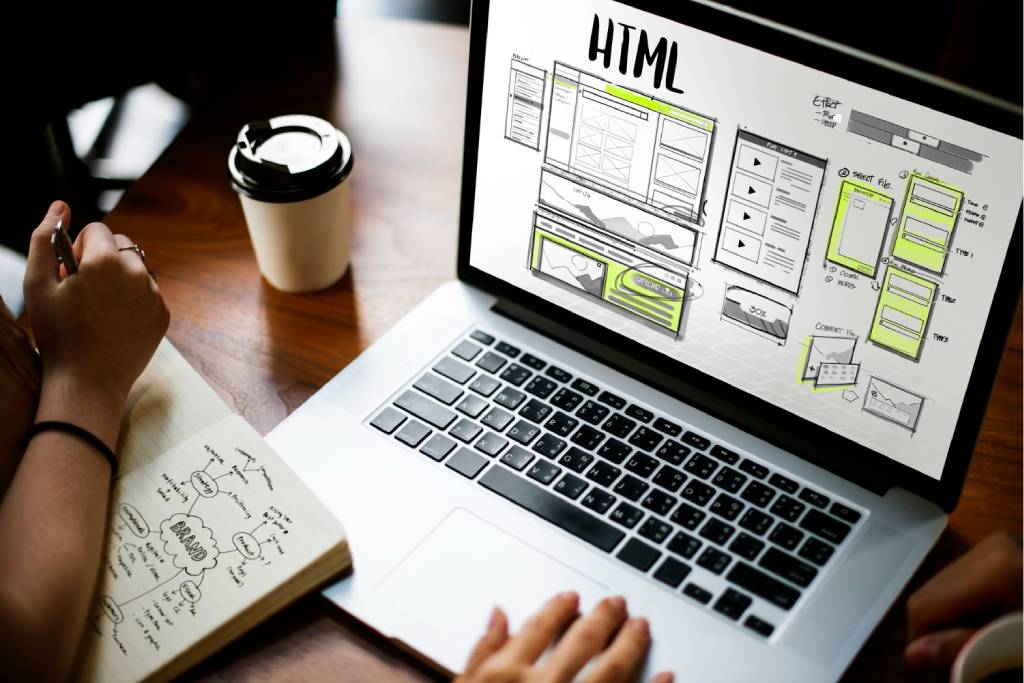
IMAGE CREDITS: FREEPIK
Your website needs more than just a homepage. Building a strong foundation with essential pages will help visitors understand who you are, what you offer, and how to reach you.
Here are the core pages every professional website should include:
IMAGE CREDITS: FREEPIK
A well-designed site means nothing if nobody can find it or if it loads slowly. That’s why optimizing your WordPress website for SEO (Search Engine Optimization) and speed is crucial. This step improves both your visibility on Google and the overall user experience.
These are the must-do actions on each page and blog post to help search engines understand your content:
yoursite.com/seo-tips instead of yoursite.com/?p=123)Site speed affects both search rankings and visitor retention. Here’s how to keep your website lightweight and fast:
High-quality images make your website look professional — but large files can slow it down. Get the best of both worlds:
Use SEO-friendly, high-quality stock images from iStock.
Their optimized files are perfect for WordPress websites that need speed and style.
Pro Tip:
After optimizing, test your site using tools like Google PageSpeed Insights or GTmetrix to identify performance issues.
You’ve built your website, customized the design, installed essential plugins, and created your key pages. Now it’s time for the big moment — going live! But before you hit that “Publish” button and start sharing your site with the world, let’s walk through a quick pre-launch checklist and the crucial steps that ensure your website is visible to search engines and ready to welcome visitors.
Before launching, make sure the following items are in place:
Once everything looks good, the first thing you should do post-launch is tell Google your website exists.
Why it’s important:
Google Search Console helps your site get indexed faster and gives you visibility into how it performs in search results.
Here’s how to do it:
yourdomain.com/sitemap_index.xmlThat’s it — now Google knows where to find your website!
Tracking how users interact with your website is crucial if you want to grow. Google Analytics gives you data on traffic, bounce rates, time on site, user demographics, and more.
Steps to install Google Analytics:
Pro Tip:
You don’t need a huge audience to start collecting insights. Even if you’re only getting a few visitors, data helps you improve your site experience and track what content works best.
Launching your WordPress website is just the beginning — now comes the real work: bringing people to your site and keeping everything running smoothly. Step 12 focuses on two key areas: promoting your website so it reaches your target audience, and maintaining it to ensure it remains secure, fast, and functional over time.
You’ve built a great website — now you need people to find it. Use these simple but effective methods to promote your site:
Pro Tip:
Be consistent. Even a simple weekly blog post or a few social posts per week can create steady growth in traffic.
Just like a vehicle, your website needs regular maintenance. Ignoring updates or backups can make it vulnerable to security threats or performance issues.
Here’s your ongoing website maintenance checklist:
If you’d rather not deal with technical stuff, you can sign up for Webto’s Annual Maintenance Plan. We’ll handle everything from plugin updates and backups to security scans and performance optimization — so you can focus entirely on your business or content.
Included in the plan:
Contact us to learn more and get started
Building a WordPress website is only part of the journey — the visual polish is what sets great sites apart. To make your site look professional and on-brand, you don’t need to be a designer. These tools can help you create stunning visuals in minutes:
Whether you’re creating a hero image, YouTube thumbnail, or social media promo, Placeit offers a massive template library and an easy drag-and-drop interface.
Both tools are beginner-friendly and offer free tiers — perfect for small business owners or solo creators.
And that’s it — your complete guide to building a WordPress website from scratch! Let’s quickly recap what you’ve accomplished:
Feeling overwhelmed? Don’t worry — building your first site solo can feel intimidating, but it’s absolutely doable with the right steps. Start small, stay consistent, and improve as you go.
💡 Or let Webto take care of it all for you. If you’d rather focus on your business and skip the tech hassle, we’ll build and maintain your site professionally — just the way you want it.
👉 Contact Webto to Get Started →
Your dream website is only a few clicks away. Let’s build something amazing.
Note: This article contains affiliate links that help us maintain the website.